

6.0 Powerstroke Blue Spring Upgrade Explained
07/31/2026
Leaking Turbo Seal or Worn Rings? Diesel Turbo Oil Diagnosis
08/06/2026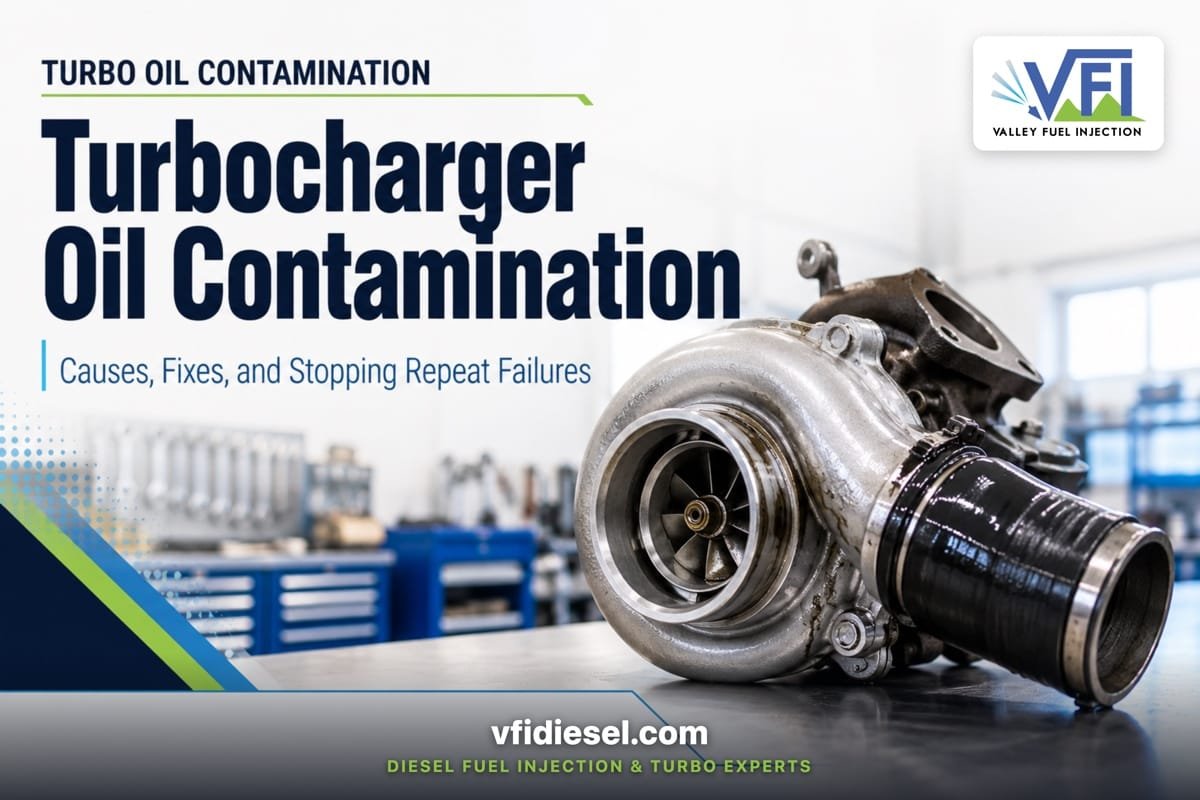
Diesel Turbocharger Oil Contamination: Causes, Symptoms & How to Prevent Repeat Failure
Turbocharger oil contamination is the single most common cause of premature turbo failure we see on the bench here at Valley Fuel Injection. It shows up on every platform: Cummins, Duramax, Powerstroke, Navistar, Cat, and everything in between. The frustrating part is that most of these failures are preventable, and the ones that aren’t caught early almost always come back after the first replacement because the root cause never got fixed. This guide breaks down exactly how oil contaminates a diesel turbocharger, what symptoms to watch for, and what a proper repair actually looks like so you’re not buying a second turbo six months from now.
Replacing a contaminated turbocharger without diagnosing and correcting the oil system problem that caused the failure guarantees a repeat. Oil contamination accounts for the majority of premature turbo failures, and the fix starts upstream of the turbo itself.
How Does Engine Oil Reach the Turbocharger and What Does It Do When It Gets There?
Engine oil reaches the turbocharger by design. The turbo’s center housing, called the CHRA (center housing rotating assembly), is fed pressurized engine oil through a dedicated feed line at the top of the housing. That oil lubricates and cools the bearing cartridge that supports the turbine and compressor shaft spinning at 100,000–250,000 RPM. After it circulates through the bearing housing, oil drains back to the sump through a return line at the bottom of the CHRA.
When the system works correctly, oil stays in the center section. Two sets of piston ring seals on either end of the shaft separate the bearing housing from the turbine housing (exhaust side) and the compressor housing (intake side). These seals rely on a pressure differential to stay effective. They are not positive seals like an O-ring. They need the oil drain side to be at lower pressure than the housings on either side, so oil is always drawn back toward the sump rather than pushed into the airstream.
When oil breaches those seals, it enters places it was never meant to go. On the compressor side, it gets pulled into the intake charge and coats the intercooler, charge pipes, and intake manifold with a film of oil. On the turbine side, it enters the exhaust stream and burns off, producing blue-gray smoke. In both cases, the bearing cartridge is usually already compromised by the time symptoms become obvious.
The oil film inside a properly functioning turbo bearing is only a few microns thick. Contaminated, degraded, or insufficient oil destroys that film almost instantly. Bosch Mobility’s turbocharger engineering documentation notes that bearing failure from lubrication breakdown is the leading cause of turbo damage worldwide.
What Are the Symptoms of Oil Contamination in a Diesel Turbocharger?
Oil contamination in a diesel turbocharger produces a recognizable cluster of symptoms, though not every case shows all of them at once. Knowing what to look for early can save you from a catastrophic bearing failure and the much larger repair bill that follows. We cover general turbo failure signs in detail in our Diesel Turbocharger Failure Signs: Early Detection Guide, but oil contamination has its own specific fingerprint.
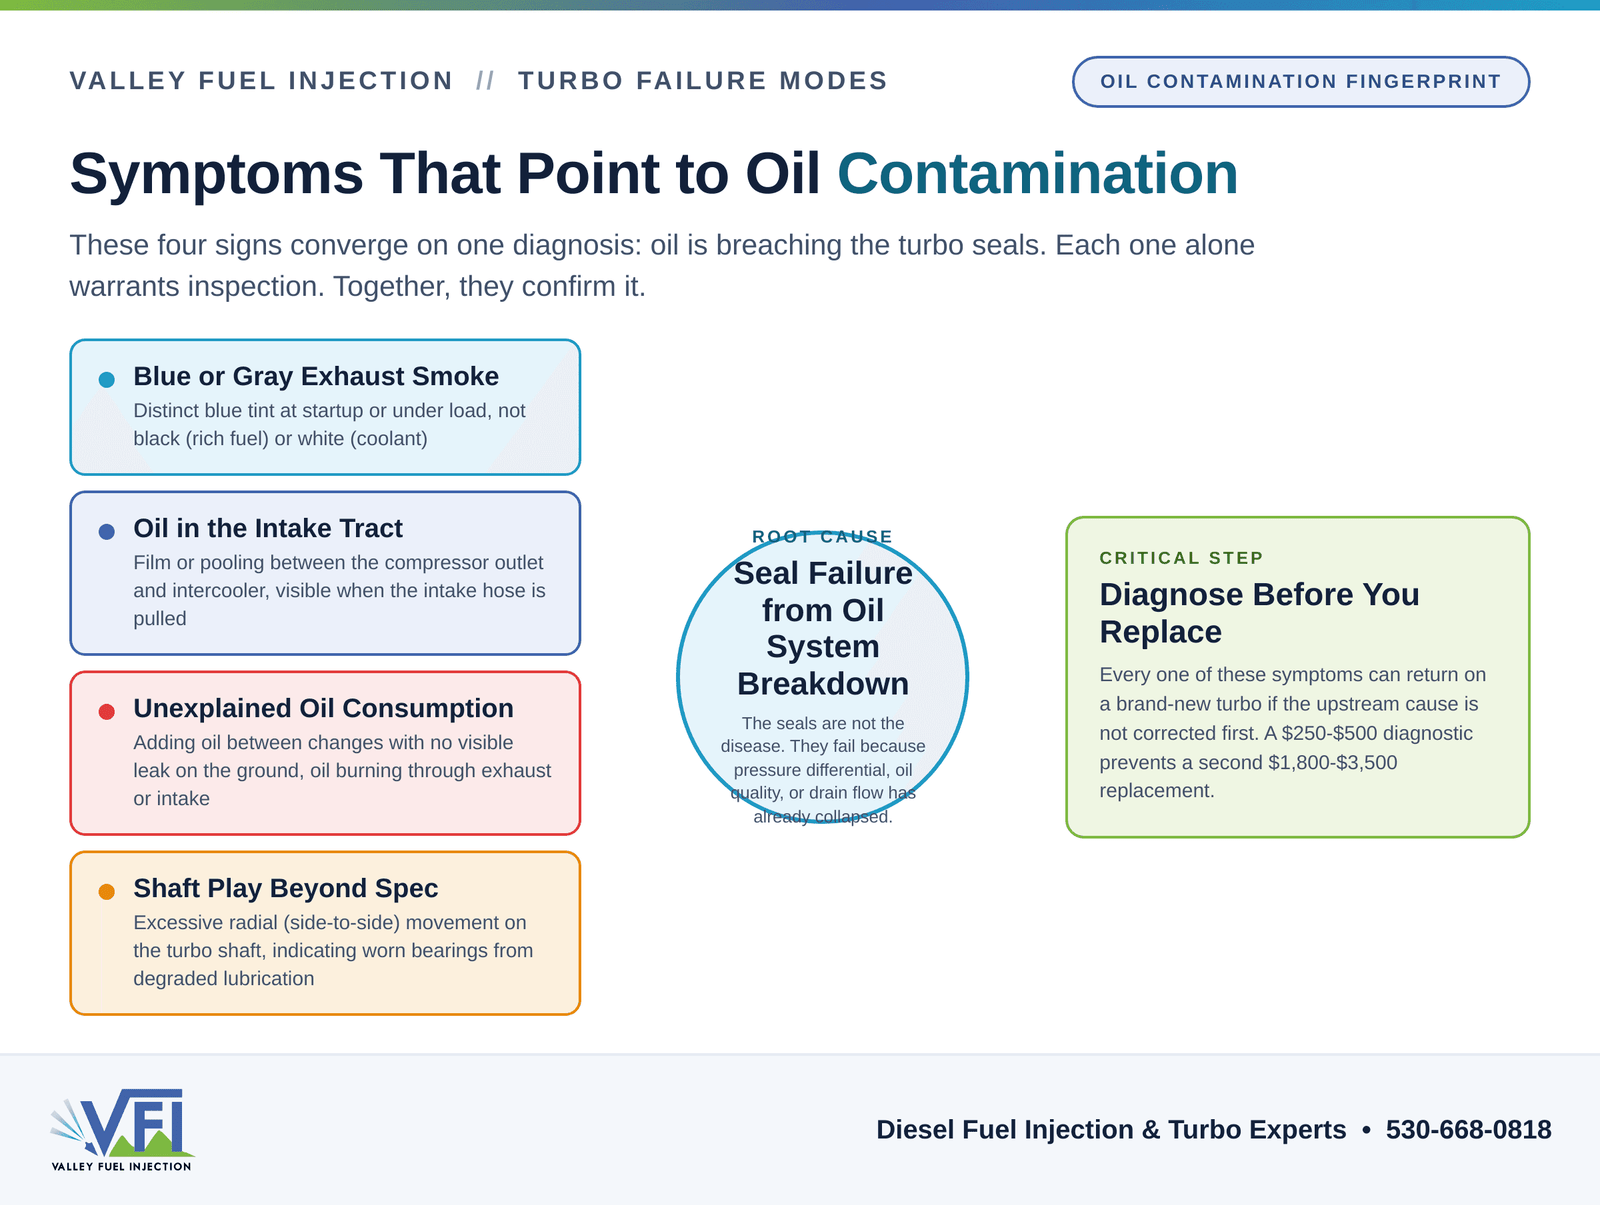
- Blue or blue-gray exhaust smoke at startup or under load. This is the most visible sign. Oil burning in the exhaust stream produces a distinctly blue tint, different from the black smoke of a rich fuel condition or the white smoke of coolant combustion.
- Oil film or pooling in the intake tract. Pull the intake hose between the turbo compressor outlet and the intercooler. A light oil film is marginal. Pooled or dripping oil is a clear sign the compressor seal has failed.
- Oil residue inside the intercooler or charge pipes. If oil has been passing the compressor seal for any length of time, it will have coated the interior of the intercooler. This is often overlooked during turbo replacement and causes repeat issues.
- Excessive oil consumption without external leaks. If you’re adding oil between changes but can’t find a leak on the ground, the turbo may be burning it through the exhaust or passing it into the intake where it burns in the combustion chamber.
- Whining, grinding, or rattling from the turbo. Once the bearing cartridge is oil-starved or running on degraded oil, you’ll hear it. These sounds often come before visible smoke. Our post on Diesel Turbocharger Failure: 8 Warning Signs walks through the full acoustic profile of a failing turbo.

- Shaft play beyond spec. Grab the turbo shaft and check for radial (side-to-side) and axial (in-and-out) play. Worn bearings from oil contamination will show excessive movement. A healthy turbo has very minimal radial play and a small amount of axial play by design.
- Oil residue on the turbine housing or exhaust pipe. Oil leaking past the turbine seal bakes onto the hot exhaust housing. You’ll see dark, baked-on deposits or wet oil depending on how severe the leak is.
Blue smoke that clears after a minute or two at startup can indicate oil pooling in the turbo housing during shutdown rather than an active seal failure. But don’t ignore it. Repeated oil pooling from a clogged drain line or extended idling accelerates bearing wear and will eventually cause seal failure. Get it checked before it progresses.
What Causes Turbo Seals to Fail and Allow Oil to Enter the Intake or Exhaust?
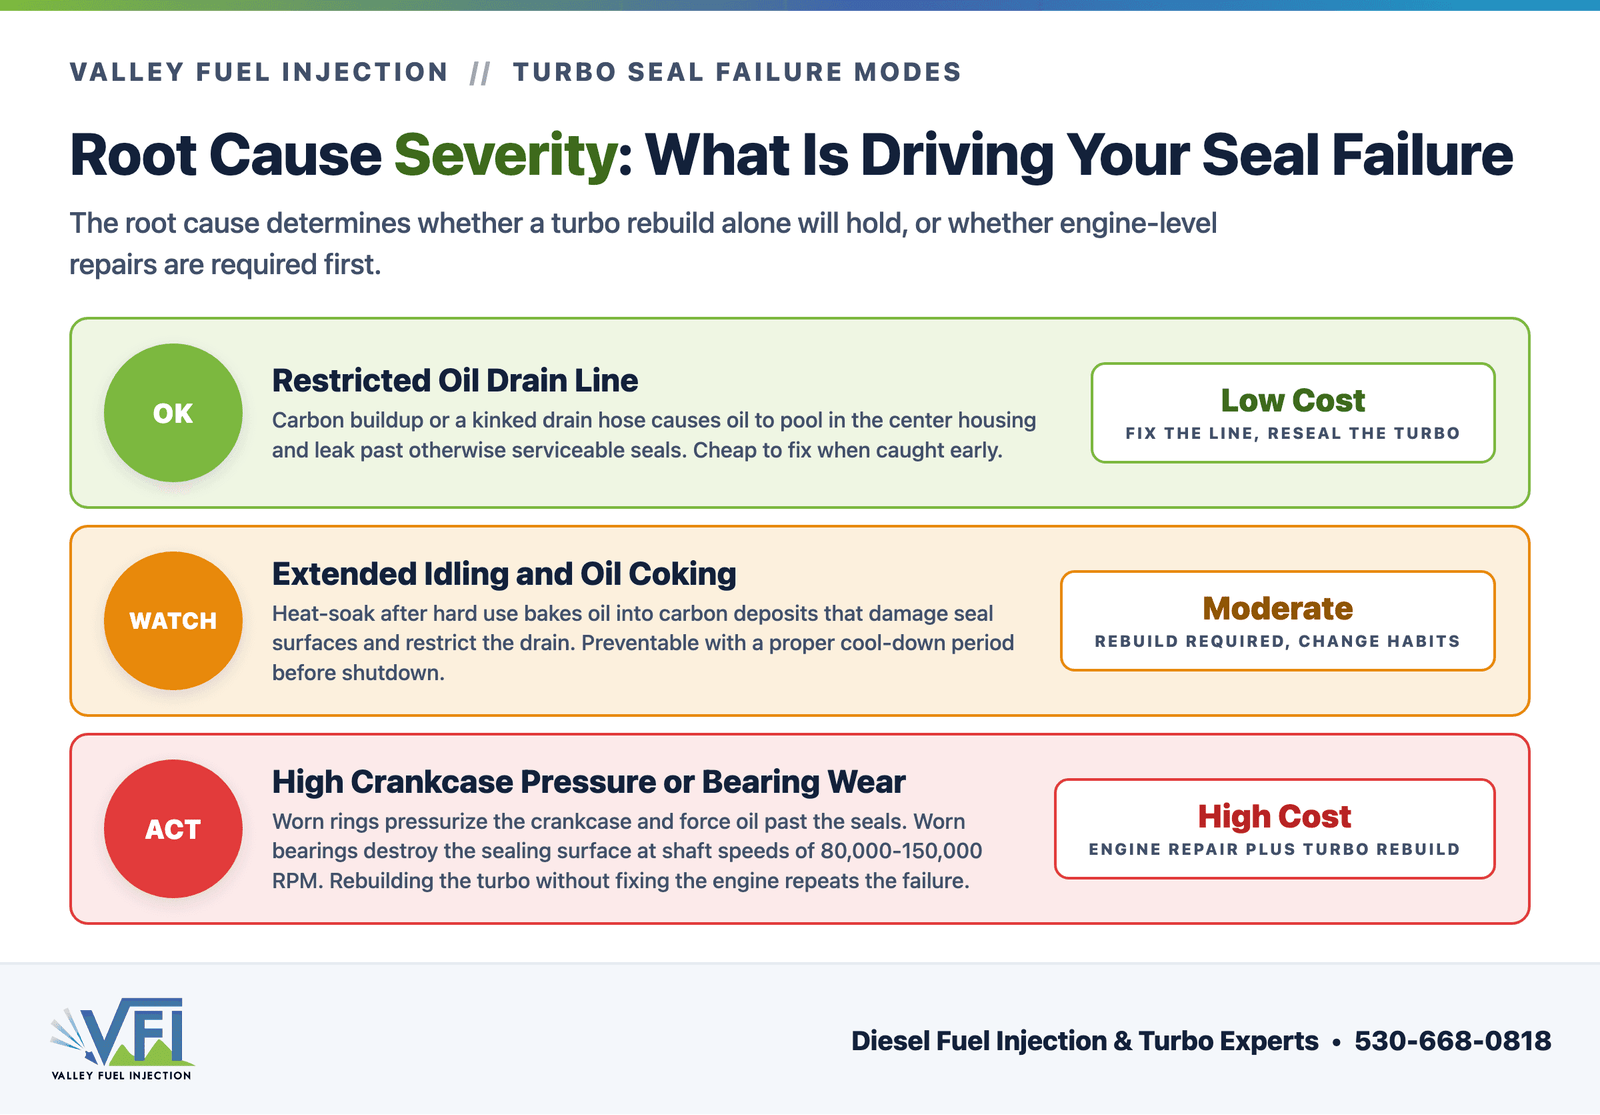
Turbo seal failures almost always trace back to one of five root causes. The seals themselves are rarely the primary problem. They fail because the conditions they depend on to function have broken down.
1. Oil Starvation or Delayed Oil Pressure at Startup
The bearing cartridge needs pressurized oil within seconds of startup. If the oil feed line is clogged, if the engine’s oil pressure is slow to build (worn pump, wrong viscosity, extended cold soak), or if the oil level is low, the bearings run dry and wear rapidly. Worn bearings allow shaft wobble, which destroys the seals mechanically. This is why we always recommend letting a diesel idle for 30–60 seconds before driving hard, and why a proper oil prime after any turbo replacement is non-negotiable.
2. Oil Coking in the Feed or Drain Lines
When a turbocharged diesel is shut down immediately after hard use, heat soaks into the center housing. Oil sitting in the feed line and bearing housing bakes into a carbon-like varnish called coke. Over time, coke deposits restrict oil flow, starving the bearings. A partially coked drain line is even more dangerous because it causes oil to back up in the center housing, raising internal pressure and forcing oil past the seals. This is a direct cause of both intake-side and exhaust-side oil leaks.
3. Degraded or Contaminated Engine Oil
Extended oil change intervals, using the wrong oil specification, or running oil that has become fuel-diluted or coolant-contaminated all degrade the lubricating film inside the bearing housing. Modern diesel turbos, especially variable geometry units (VGT), are extremely sensitive to oil quality. SAE research on turbocharger lubrication has documented that even moderately degraded oil can reduce bearing film strength by more than 40 percent. Running extended intervals on a turbocharged diesel is a false economy.
4. Crankcase Pressure (PCV System) Problems
This is one of the most misdiagnosed causes of turbo oil leaks. The turbo’s piston ring seals depend on the crankcase being at or near atmospheric pressure. If the PCV (positive crankcase ventilation) system is blocked, the breather tube is clogged, or the engine has excessive blowby from worn rings or a cracked piston, crankcase pressure rises. That elevated pressure pushes against the oil drain side of the turbo, effectively fighting the pressure differential the seals need to work. The result looks exactly like a failed turbo seal, but replacing the turbo without fixing the PCV system produces the same failure in the replacement unit.
5. Overspeeding and Foreign Object Damage
Removing the air filter, installing an oversized injector without matching the turbo, or allowing debris into the intake can damage the compressor wheel and throw the shaft out of balance. An imbalanced shaft destroys the bearing cartridge quickly, and the resulting wobble takes the seals with it. This failure mode often produces a grinding or chirping noise before oil leaks become visible.
After any hard pull on the highway or extended towing, let your diesel idle for 3–5 minutes before shutdown. This allows the turbo bearing housing to cool with circulating oil rather than heat-soaking with stagnant oil. It’s the single easiest thing you can do to extend turbo life, and it costs nothing.
How Do You Distinguish Between a Turbo Leaking Oil and a Failing PCV System or Engine Problem?
Telling a true turbo seal failure apart from a PCV or engine-sourced oil problem requires systematic diagnosis, not guesswork. We see trucks come in regularly where the previous shop replaced the turbo and the oil consumption continued, because nobody checked crankcase pressure or engine blowby.
If your core question is whether the oil is coming from a leaking turbo seal or from worn piston rings, our Leaking Turbo Seal or Worn Rings? guide walks through the compressor-side versus turbine-side diagnosis step by step.
Here’s the diagnostic sequence we use:
- Check crankcase pressure. With the engine at operating temperature and under load, measure crankcase pressure at the dipstick tube or oil fill cap. Excessive positive pressure points to a PCV restriction or engine blowby. This test costs relatively little and rules in or out the most common misdiagnosis.
- Inspect the PCV system. On many modern diesels, the crankcase breather or PCV valve can become oil-saturated and clog completely. Check the breather tube for restriction and the valve for function. On Cummins ISB and ISX engines in particular, the crankcase ventilation filter is a commonly overlooked maintenance item.
- Pull the intake hose and inspect the compressor outlet. If there’s oil present, note where it’s concentrated. Oil only on the compressor outlet side (between the turbo and intercooler) with a clean air filter side points more directly at a compressor seal. Oil on both sides of the turbo can indicate crankcase vapor being pulled through the intake.
- Check the oil drain line. Remove or inspect the turbo drain line for restriction, kinking, or coke buildup. A restricted drain is a direct cause of seal failure and is separate from the seals themselves.
- Perform a compression and blowby test. If the engine has significant blowby from worn rings or cylinder damage, no turbo repair will fix the oil consumption. This is the step that gets skipped most often because it takes time and adds cost to the diagnostic. It also saves you from buying a second turbo.
A proper oil contamination diagnostic at our shop typically runs $250–$500 depending on the platform and how deep the investigation needs to go. That investment is far cheaper than the cost of a second turbo replacement because the root cause was missed the first time.
Oil system diagnostic (pressure testing, blowby check, oil passage inspection): typically $150–$350 as a standalone service. Turbocharger contamination workup including teardown, shaft play check, and oil passage evaluation: typically $250–$500. These diagnostics identify the root cause before you commit to a rebuild or replacement.
Why Does Replacing a Contaminated Turbo Without Finding the Root Cause Guarantee Repeat Failure?
This is the most important section of this entire post, because it’s the situation we see play out repeatedly on the bench. A truck comes in with its second or third turbo failure in two years. The owner has spent real money on parts. The problem keeps coming back because the turbo was never the disease. It was a symptom.
Consider what happens when you install a fresh turbo into an engine with a clogged crankcase breather. Within weeks, elevated crankcase pressure begins pushing against the new turbo’s drain side. Oil backs up in the center housing. The seals begin to fail. Blue smoke returns. The owner assumes they got a bad replacement unit. They didn’t. The system that destroyed the first turbo is still there, working on the second one.
The same logic applies to a coked drain line that wasn’t replaced, an oil feed line with partial restriction, or an engine with excessive blowby.
Every one of those conditions will destroy a replacement turbo on the same timeline as the original.
We also see this with intercooler contamination. When a turbo passes oil into the intake for any significant period, that oil coats the interior of the intercooler and charge pipes. After a new turbo is installed, that residual oil gets pulled back through the system, contributing to continued oil consumption symptoms and in some cases restricting intercooler efficiency enough to cause heat-related issues. Flushing or replacing the intercooler at the time of turbo replacement is not optional when contamination has been present. It typically adds $200–$450 to the job, but it’s the difference between a repair that lasts and one that doesn’t.
For a detailed breakdown of when to repair versus replace a contaminated turbo, see our guide on Turbocharger Repair vs. Replacement. The decision depends heavily on whether the contamination source has been identified and corrected.
Cheap online turbo replacements installed without root-cause diagnosis are one of the most expensive decisions a diesel owner can make. A quality reman turbo for a light-duty platform runs $1,800–$3,500 installed at a specialty shop. Doing that twice because the cause wasn’t fixed means you’ve spent $3,600–$7,000 and still have an underlying problem. Do it right the first time.
What Does Proper Turbocharger Replacement or Rebuild Include to Prevent Oil Contamination from Returning?
A complete turbocharger oil contamination repair is a system-level job, not a bolt-on swap. Here’s what we include in every contamination-related turbo repair at Valley Fuel Injection, and what you should expect from any qualified shop doing this work.
Root Cause Identification First
Before a new or rebuilt turbo goes on, the cause of the original failure must be confirmed and corrected. That means checking crankcase pressure, inspecting the PCV system, evaluating the oil feed and drain lines, and assessing engine blowby. No exceptions.
Oil Feed and Drain Line Replacement
The oil feed line delivers pressurized oil to the bearing housing. The drain line returns it to the sump. Both lines should be replaced or thoroughly inspected at every turbo replacement. A coked or kinked drain line is a direct cause of seal failure in the new unit. Feed and drain line replacement typically adds $450–$900 to the job depending on access and whether braided stainless lines are used, but it’s mandatory for a durable repair.
Intercooler and Charge Pipe Cleaning or Replacement
Any oil that passed through the failed turbo has coated the downstream components. The intercooler interior, charge pipes, and in severe cases the intake manifold all need to be cleaned or replaced. Skipping this step is a documented cause of repeat issues. Budget $200–$450 for intercooler flush and charge pipe cleaning, more if the intercooler itself needs replacement.
Quality Turbo Selection
Not all replacement turbos are equal. Cheap offshore units often use substandard bearing materials and are not properly balanced. On a contamination failure where the bearing cartridge has been running in degraded conditions, the replacement unit needs to be built to spec. We use quality remanufactured and OEM-grade units. For light-duty platforms (6.7 Cummins, 6.6 Duramax, 6.7 Powerstroke), a properly installed reman turbo typically runs $1,800–$3,500 all-in. VGT units on heavy-duty platforms (Cummins ISX, Volvo D13, Cat C15-class) run $3,500–$7,500 or more depending on the unit and actuator requirements.
Proper Oil Prime Before Startup
After installation, the oil feed line must be primed before the engine is cranked. This means pre-filling the feed line or cranking the engine without fuel until oil pressure builds, so the new bearing cartridge gets lubrication from the first revolution. Skipping this step on a fresh turbo installation is one of the fastest ways to damage a brand-new unit.
Fresh Engine Oil and Filter
A full synthetic oil and filter service is mandatory after any turbo replacement involving oil contamination. The old oil may contain metal particles from the failed turbo’s bearing cartridge. Those particles will circulate through the new turbo’s bearings and begin destroying them immediately. An oil and filter service at a California specialty shop typically runs $150–$280 for a heavy-duty diesel platform. It’s not optional.
Post-Repair Verification
After everything is buttoned up, verify oil pressure at idle and under load, check for any codes related to boost or VGT actuator function, and confirm there’s no smoke or oil in the intake after a proper heat cycle. A thorough post-repair check is what separates a complete repair from a parts swap.
| Service Item | Typical Cost Range | Skip It? |
|---|---|---|
| Root cause diagnostic | $250–$500 | Never |
| Oil feed & drain line replacement | $450–$900 | Never |
| Intercooler / charge pipe cleaning | $200–$450 | Never if oil contamination was present |
| Turbo replacement (light-duty, all-in) | $1,800–$3,500 | N/A, the core repair |
| Turbo replacement (HD VGT, all-in) | $3,500–$7,500+ | N/A, the core repair |
| Engine oil & filter service (post-repair) | $150–$280 | Never |
Prices reflect typical California specialty-shop ranges as of 2026. Your actual quote depends on the condition of your specific components, parts availability, and current labor rates. Call VFI at 530-668-0818 for an accurate quote on your job.
Prices reflect typical California specialty-shop ranges as of 2026. Your actual quote depends on the condition of your specific components, parts availability, and current labor rates. Call VFI at 530-668-0818 for an accurate quote on your job.
How to Prevent Turbocharger Oil Contamination Before It Starts
Prevention is straightforward once you understand what the turbo needs to survive. These habits apply to every turbocharged diesel regardless of platform or age.
- Change engine oil on schedule using the correct specification. For most modern turbocharged diesels, that means a full-synthetic CK-4 rated oil at the OEM-specified interval. The EPA’s diesel fuel and emissions standards have driven tighter tolerances in modern diesel engines, which makes oil quality more critical than ever. Do not extend intervals beyond what the OEM specifies for your duty cycle.
- Maintain the PCV and crankcase ventilation system. Inspect the breather filter and PCV valve at every other oil change. A clogged breather is a slow turbo killer that shows no obvious symptoms until the turbo is already failing.
- Allow proper idle time after hard use. Three to five minutes of low-load idling before shutdown lets the turbo cool with circulating oil. This prevents oil coking in the center housing.
- Check oil level regularly. Running low on oil reduces system pressure and can starve the turbo bearing during high-demand operation. A quart low on a turbocharged diesel is not a minor issue.
- Address any oil leaks, smoke, or unusual sounds immediately. Early intervention on a turbo issue costs a fraction of what a catastrophic bearing failure costs. If you’re seeing blue smoke or hearing unusual turbo noise, consult a qualified diesel technician before the problem progresses.
If you’re in the Sacramento area and want a diesel maintenance plan that actually protects your turbo, our team at Valley Fuel Injection in Sacramento and our main shop in Woodland can help you set up a service schedule built around your specific platform and duty cycle. We also work with fleet managers across Northern California and Nevada who need a consistent, documented maintenance program for their equipment.
Our team at Valley Fuel Injection has been diagnosing and repairing diesel turbocharger oil contamination for over 30 years. We identify the root cause before the replacement goes in, so you get a repair that actually lasts. Call us at 530-668-0818 or schedule a diagnostic. We’re located at 1243 E Beamer St, Suite C, Woodland, CA 95776. We also accept mail-in turbos and ship remanufactured units nationwide.
Frequently Asked Questions About Diesel Turbocharger Oil Contamination
Can I drive my diesel if the turbo is leaking oil?
You can drive it, but you shouldn’t drive it hard or for long. A turbo leaking oil into the intake can foul the intercooler and reduce cooling efficiency, while a turbine-side leak burns oil in the exhaust and can cause a turbo fire if oil contacts hot exhaust components. More critically, the bearing cartridge that’s allowing the leak is already compromised. Continued operation under load accelerates bearing failure and can result in shaft contact with the housing, which destroys the turbo completely and can send debris into the engine. Have it inspected by a qualified diesel technician as soon as possible.
How do I know if my turbo oil drain line is clogged?
A clogged drain line often shows up as oil leaking from both the compressor and turbine seals simultaneously, because backed-up oil in the center housing pressurizes both sides. You may also see oil pooling at the base of the turbo or dripping from the drain fitting. The definitive check is to remove the drain line and inspect it for coke buildup or restriction. This is part of any thorough turbo contamination diagnostic and should be done before any replacement turbo is installed.
Will an oil additive fix turbocharger oil contamination?
No. Oil additives cannot repair worn bearings, restore seal geometry, or clear a coked drain line. Some additives marketed for turbo protection may help maintain oil film strength in a healthy system, but they cannot reverse existing damage or substitute for a proper diagnosis and repair. If your turbo is already showing contamination symptoms, the only fix is a mechanical inspection to identify the root cause and a proper repair or replacement of the affected components.
Does turbocharger oil contamination void my warranty?
It depends on the warranty terms. Many turbo manufacturers and remanufacturers require documented root-cause diagnosis before a warranty claim is valid on a replacement unit. If you install a replacement turbo without correcting the underlying cause and the new unit fails the same way, most warranty providers will deny the claim on the grounds that the failure was caused by an external condition rather than a defect in the replacement part. Getting a proper diagnostic and keeping documentation protects both your investment and your warranty claim rights.
What is the typical lifespan of a diesel turbocharger with proper maintenance?
A properly maintained diesel turbocharger on a well-serviced engine should last 150,000–300,000 miles or more on most platforms. Premature failures, meaning those occurring before 100,000 miles, are almost always caused by an external factor: oil quality issues, extended change intervals, PCV system neglect, or improper shutdown habits. Turbos that fail early are telling you something is wrong with the system around them, not just with the turbo itself. The California Air Resources Board tracks diesel emissions compliance and durability standards that underscore how critical proper turbo maintenance is for both engine longevity and emissions performance.